How often should you back up a website? Backing up your website is one of the things that should be on your “PRIORITY” list as a blog or website owner. In this guide we look at how to backup a website from start to finish.
It doesn’t matter how popular or big your website might be. All websites, both big and small are all vulnerable to issues such as updates gone wrong, hacking and errors that might render your website inaccessible and result in loss of valuable content you spent countless hours creating.
But before we dive right in on how to backup a website;
What does a back up of a website mean?
A backup in our simple English language refers to a suitable alternative.
In our case a back up of a website means making copies of the files or data of your website such as blog posts, images and plugins among others in the event your originals are damaged or lost.
A back up of a website will make a copy of your entire database that you can always retrieve should the need arises.
So Why Should I make regular backups of my website?
Backing up your website is more like having an emergency fund in your bank account that you only use when faced with unfortunate situations that demand your utmost attention such as sudden life threatening sicknesses that need to be treated immediately.
The emergency fund will come in handy in such scenarios and ensure you have a back up plan to guarantee that you don’t drown in financial troubles.
Likewise, we also need an “emergency fund” when growing our websites.
In this case our emergency fund is regular back up of a website to ensure we can always recover our data when lost.
The truth is all websites on the internet are vulnerable to data loss and security threats.
You may be left vulnerable in the event;
- Your website gets hacked and all your data is destroyed.
- Your website experiences failed updates of either plugins or themes that result in data loss.
- Your hosting company may experience server outages and consequently lose your data.
- Perhaps your hosting company terminates your account for one reason or another and deletes all your data.
Read Also: 6 Realistic Ways To Make Extra Money Online
So how do I make a back up of a website?
This is perhaps one of the simplest tasks you will ever do as a blog or website owner.
We shall make use of a popular plugin known as UpdraftPlus to back up a website.
UpdraftPlus will allow you to backup your entire WordPress website and restore it when needed with a single click.
It comes with both the free version and the paid version.
If you are interested in purchasing the premium version you can head over your to their shop.
For purposes of this tutorial I will be using the free version to demonstrate step by step how you can back up a website with ease.
So lets dive right in on how to backup WordPress website.
Step 1: Log in to your WordPress website:

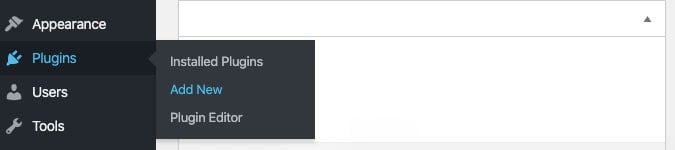
Step 2: Now head over to the plugins menu, and choose “Add New”:
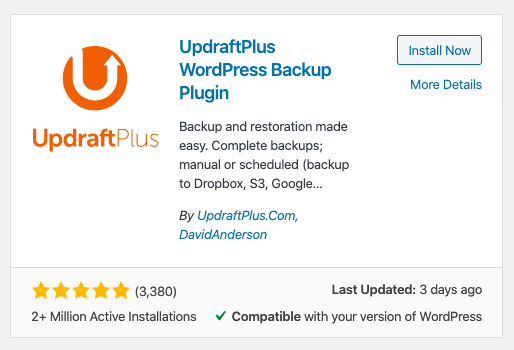
Step 3: Type UpdraftPlus into the search bar and click “Install Now”

Step 4: Activate the plugin by pressing the activate button.
Step 5: Once installed, configure the plugin to back up a website.
Updraft makes setting up your first WordPress backup easy. Simply follow these steps:
- i) Upon activation, you need to visit Settings » UpdraftPlus Backups page to configure plugin settings.

- ii) Now you need to select the settings tap at the top.
This is where you will set up an automatic backup schedule according to your preference and choose a remote location to store your backups.
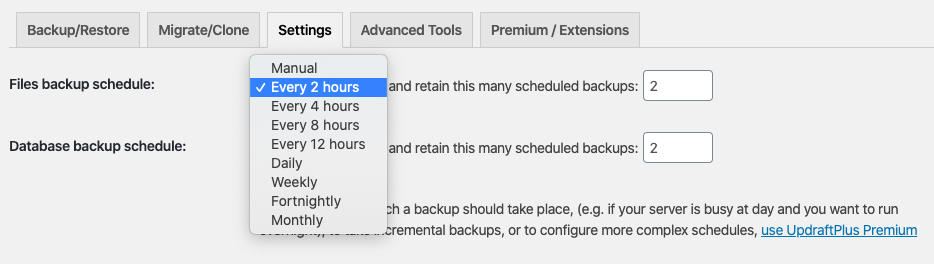
You can set how many backups of a website you want stored at a particular time. Any new backups will then override the old ones.
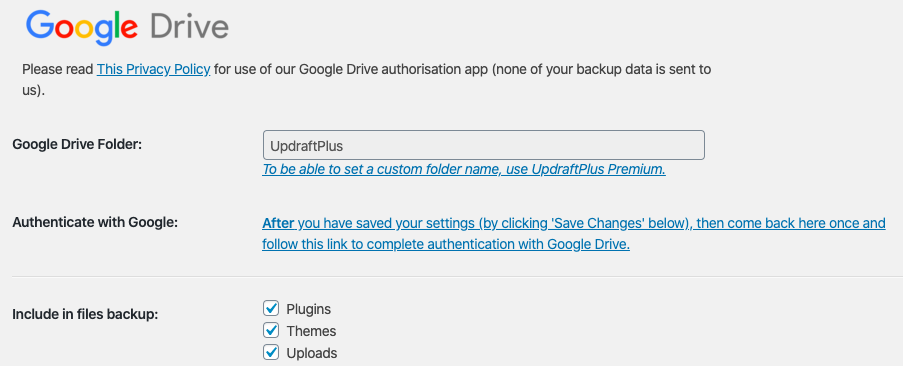
Step 6: Now it’s time to select a remote location where you would like your files to be stored.
UpdraftPlus allows you to save your backups to several cloud storage services including Dropbox, Google Drive, Microsoft OneDrive, and many others. You can also send your backups to an email address.
Select a remote storage location that is convenient for you.
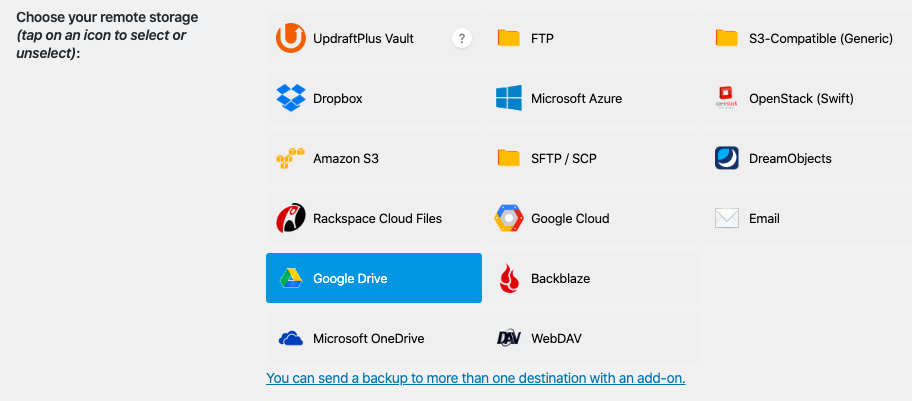
For the case of this tutorial I will be using the Google drive remote location to save the files.
Once selected, each storage option will have its own set of instructions.
Simply follow these instructions to the dot and click the Save Changes button at the bottom of the page when done to backup a website.
For this tutorial, I will be taking you through the entire progress step by step when using the Google drive remote location.
If you’d like to backup your files to more than one location or want to customize your backups further, you will have to upgrade to Updraft Premium in order to do so. You could also opt to purchase the add-on, Multiple Storage Destinations.
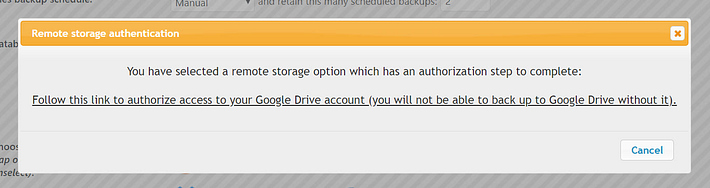
Step 7: Now that you have chosen Google drive as your remote location to save your files, you will be prompted to authenticate it using your Google account (Gmail).
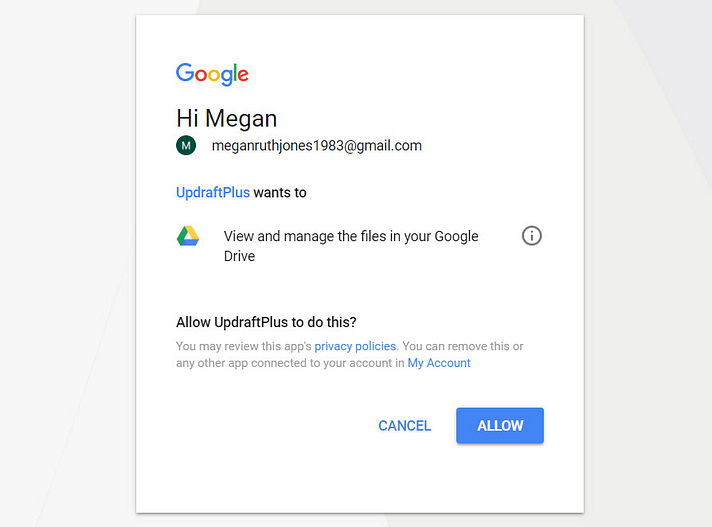
Step 8: You will then be required to allow Updraft access to your Google account.
Click the “Allow” button such that Updraft can be able to automatically make timely backups of your site’s free website backup regularly based on how you configured it.
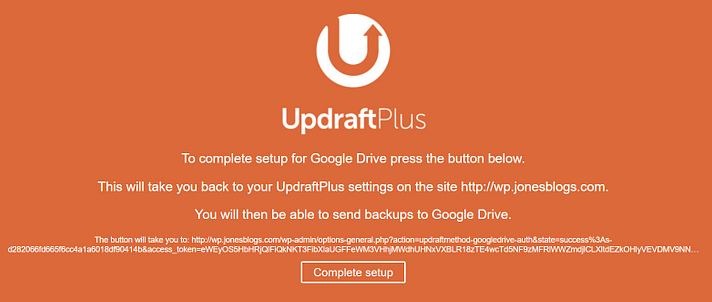
Step 9: Finally after authenticating your Google account, you will be redirected back to the Updraft plugin in WordPress. This will enable you to send your free website backups to Google drive.
Click the “Complete Setup” button to start sending your backups to google drive.
Step 10: Once the setup is complete you can now easily backup your files and database to your Google drive account.
Click the “Backup Now” button to start sending your backup files to Google drive.
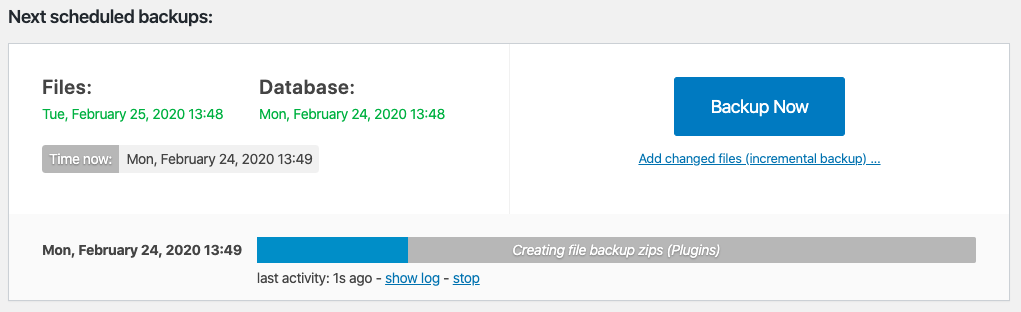
Step 11: This is the final step in backing up a WordPress website.
Simply choose the files you would like to have backed up to Google drive.
Then click the “Backup Now” button to start backing up your files.
Conclusion
Backing up a website is one of the many things anyone serious about growing their online business should consider doing regularly to avoid inconveniences in the operation of their websites which can result in losses.
Did you find this guide helpful? Are you backing up your website database regularly?
Let me know in the comments below.
Also share this blog post with anyone looking to easily back up a website.
Hi,
Thanks for your kind words.I am glad you found my content helpful.
I hope to see you around more often!